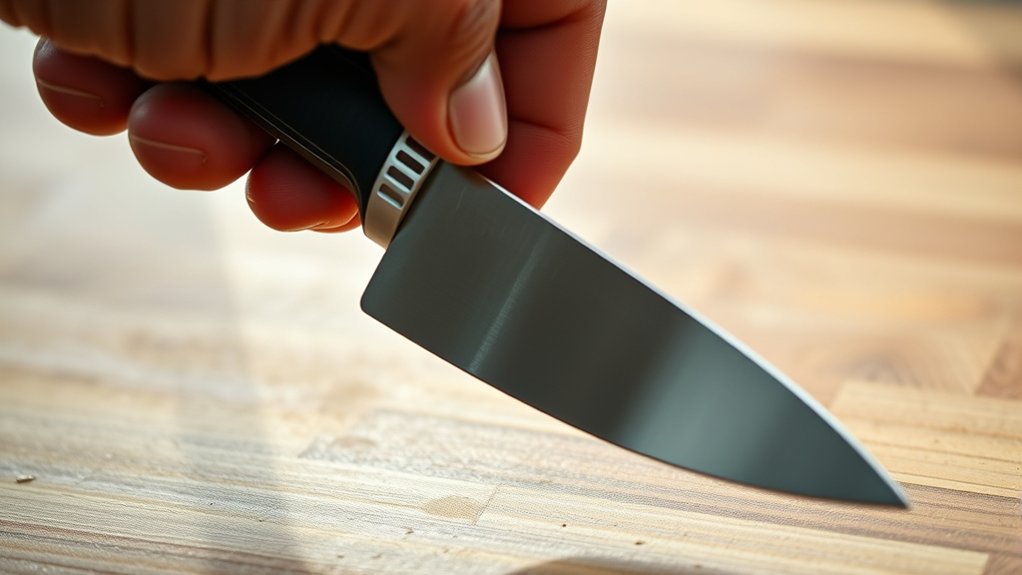
10 Steps to Sharpen Kitchen Knives With a Rod
Dull kitchen knives can make simple meal prep frustrating, and many home cooks struggle to sharpen them safely and effectively. If you want smoother cuts without replacing your favorite knives, learning how to sharpen kitchen knives with a rod can help.
To sharpen your kitchen knives with a rod, first choose the right one—ceramic for fine honing or diamond-coated for dull blades. Prepare your workspace safely and hold the rod firmly.
Maintain a 15-20 degree angle, starting with light strokes while applying even pressure. Alternate sides evenly, testing sharpness by slicing paper or tomatoes.
Repeat until the blade feels razor-sharp. Finally, clean and store your tools properly to keep them in top shape.
You’ll find helpful tips to perfect your technique next.
Key Takeaways
- Choose the appropriate sharpening rod material: ceramic for fine edges, steel for regular honing, or diamond-coated for dull blades.
- Hold the rod securely on a stable surface and maintain a 15-20 degree angle while sharpening the knife.
- Use light, consistent pressure and smooth strokes, alternating sides evenly for a balanced, sharp edge.
- Test sharpness by slicing paper, shaving hair, or cutting a tomato’s skin with minimal force.
- After sharpening, clean and dry the blade thoroughly, inspect the handle, and store or oil the knife properly.
Choose the Right Sharpening Rod for Your Knives
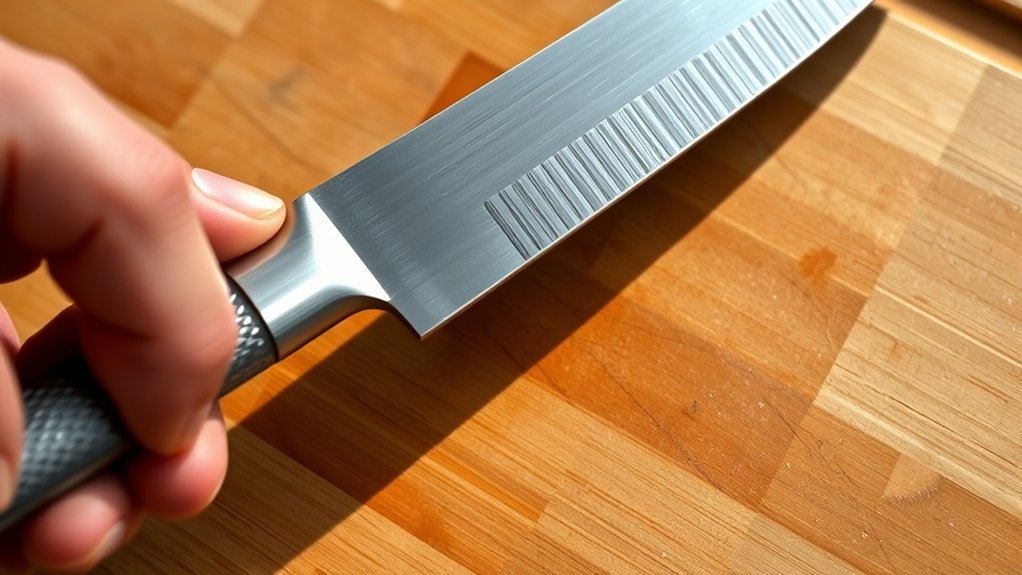
Before you begin sharpening, you need to pick the right rod for your knives. Not all sharpening tools work just as well with every blade, so consider the material and grit of the rod.
Ceramic rods offer a fine grit, ideal for maintaining sharp edges, while steel rods are better for regular honing. If your knives are very dull, a diamond-coated rod can help restore the edge quickly.
Ceramic rods sharpen finely, steel rods hone regularly, and diamond-coated rods quickly restore very dull knives.
Also, think about your knife storage habits. If you store knives in a block or on a magnetic strip, you’ll want a rod that matches the level of maintenance your blades need between uses.
Choosing the right rod guarantees you preserve your knives’ performance and longevity. Keep your sharpening tools in a dry, accessible place near your knife storage to make regular maintenance easier.
Selecting the appropriate rod is the first step toward keeping your kitchen knives sharp and ready for any task.
Prepare Your Knife and Rod Safely
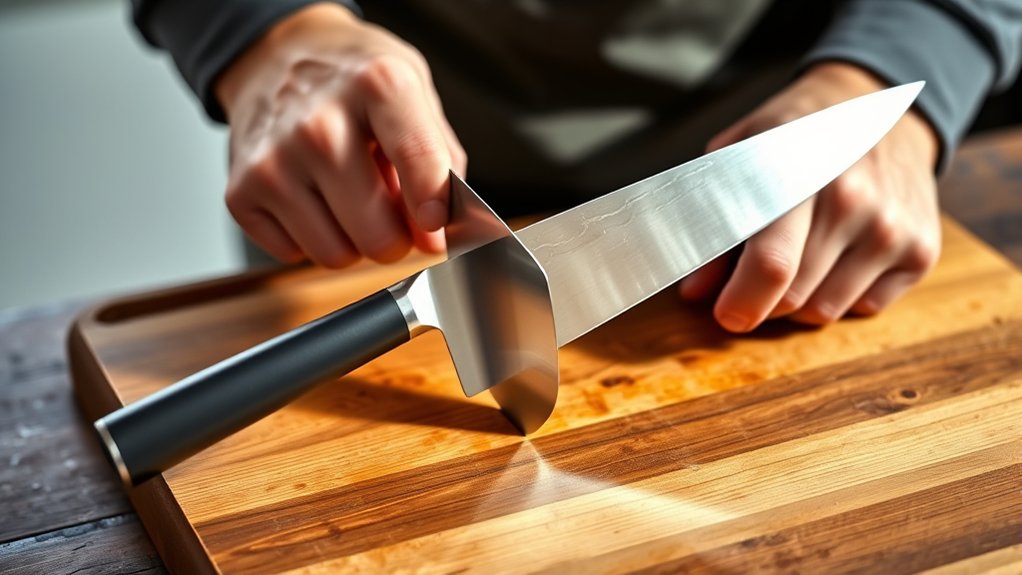
While prepping your knife and rod, make sure you have a stable workspace and a secure grip to prevent accidents. Knife safety is essential, so clear your area of distractions and keep your fingers away from the blade’s edge.
Before you begin, inspect your sharpening tools for any damage or residue that could affect performance. Clean both the knife and rod thoroughly to remove debris, ensuring smooth sharpening strokes.
Hold the sharpening rod firmly with your non-dominant hand, placing the tip on a non-slip surface like a cutting board. This setup gives you control and stability during sharpening.
Handle your knife with care, keeping the blade pointed away from you. Always use deliberate, controlled motions rather than rushing through the process.
Find the Correct Angle to Hold Your Knife on the Rod
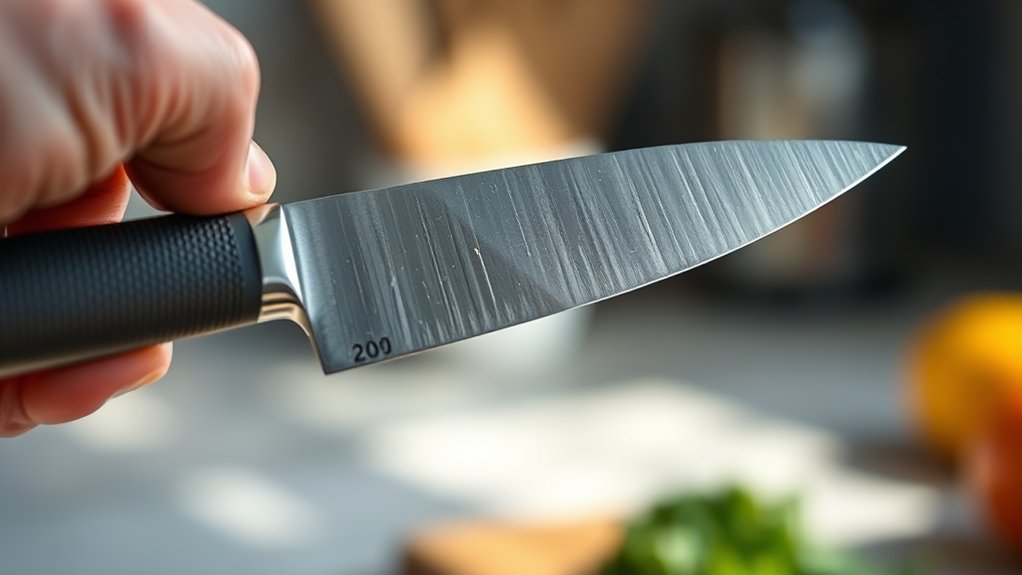
Hold your knife at the right angle—usually between 15 and 20 degrees—for effective sharpening. Keep that angle consistent as you move the blade along the rod to create a sharp, even edge. Here’s how to find and maintain the perfect position.
Optimal Sharpening Angles
Although sharpening a knife might seem straightforward, maintaining the correct angle between the blade and the rod is essential for a sharp, durable edge. You’ll find many sharpening myths suggesting extreme angles, but sticking to the right one prevents damage.
Typically, kitchen knife types like chef’s knives need about a 20-degree angle, while paring knives require a slightly smaller angle, around 15 degrees. Using too steep or too shallow an angle can dull your blade faster or wear it unevenly.
To find your ideal angle, imagine slicing a thin layer off the rod’s surface with the knife’s edge. This subtle adjustment guarantees your blade stays sharp and strong, making your kitchen prep smoother and safer every time.
Consistent Knife Positioning
Since maintaining the correct angle is essential, you need to position your knife steadily against the rod during sharpening. Focus on knife ergonomics by gripping the handle firmly and aligning the blade with the rod at a consistent angle.
Using sharpening accessories like angle guides can help you hold the knife correctly without guesswork. Keep your wrist steady and move the blade smoothly along the rod for even sharpening.
| Step | Tip |
|---|---|
| 1 | Hold rod vertically |
| 2 | Grip knife handle firmly |
| 3 | Align blade at 15-20 degrees |
| 4 | Use angle guide if needed |
| 5 | Maintain steady wrist motion |
Consistent positioning guarantees each stroke sharpens evenly, improving your knife’s performance and longevity.
Start With Light Strokes to Hone the Knife Edge
Before applying firm pressure, start with light strokes to gently hone the knife edge. This helps you get a feel for the blade’s alignment against the rod and prevents removing too much metal too quickly.
Focus on mastering basic honing techniques by maintaining a consistent angle as you glide the blade along the rod. Depending on the rod material—ceramic, steel, or diamond-coated—you’ll notice differences in feedback and effectiveness.
Light pressure helps protect the edge while allowing you to detect any dull spots that need extra attention. Take your time to develop a smooth, controlled motion before progressing to firmer strokes.
Use Consistent Strokes With the Sharpening Rod on Each Side
Apply even pressure as you run the sharpening rod along each side of the blade. Keep your strokes consistent, and alternate sides to maintain a balanced edge. This steady rhythm helps sharpen your knife evenly and effectively.
Maintain Even Pressure
Although it might feel natural to vary your grip, you should apply even pressure when using the sharpening rod to guarantee a consistent edge. Maintaining steady pressure helps prevent uneven sharpening and preserves the blade’s integrity.
Your grip technique plays a crucial role; hold the rod firmly but not too tightly to avoid hand fatigue. Keeping your hand relaxed ensures longer sharpening sessions without discomfort.
To maintain even pressure, focus on:
- Applying gentle, uniform force throughout each stroke
- Avoiding sudden changes in pressure or angle
- Keeping your wrist steady and controlled
- Balancing effort between both hands to reduce strain
Alternate Side Strokes
Keeping even pressure sets the foundation, but sharpening your knife well also means working both sides evenly. Use consistent strokes with your sharpening rod, alternating from one side of the blade to the other. This approach guarantees a balanced edge and prevents uneven wear.
Start by placing the rod vertically. Draw the knife down and across the rod at the correct angle on one side, then switch to the other side, repeating the same number of strokes.
Maintaining knife safety is essential here. Keep your fingers clear of the blade’s path and use steady, controlled movements. Using sharpening tools properly not only sharpens your knife effectively but also extends its lifespan while protecting you from accidental cuts.
Use Gentle Pressure to Sharpen the Edge
When you start sharpening your knife with the rod, apply gentle pressure to avoid damaging the blade. Using gentle pressure helps maintain knife durability by preventing unnecessary wear or bending of the edge. Pressing too hard can chip or dull the blade faster, so keep your touch light but consistent.
Focus on these points to sharpen effectively:
- Use steady, controlled strokes rather than forceful ones.
- Let the rod guide the edge without pushing aggressively.
- Maintain a consistent angle, typically around 20 degrees.
- Sharpen slowly to feel the metal realigning without overworking it.
Test Your Knife’s Sharpness
Before you finish sharpening, you’ll want to test your knife’s sharpness to confirm the edge is properly honed. This step is crucial in knife maintenance because even a well-sharpened blade can feel dull if you skip testing.
Use simple tests like slicing through paper or gently running the blade along your thumbnail (carefully!) to gauge sharpness. Remember, using proper sharpening tools ensures your knife maintains a consistent edge.
Here’s a quick guide to test sharpness effectively:
| Test Method | What to Expect | Action Required |
|---|---|---|
| Paper Slice | Smooth, clean cut | No further sharpening |
| Tomato Slice | Skin breaks easily | Light touch-up needed |
| Thumbnail Scratch | Blade bites slightly | Sharpen more if dull |
| Hair Shaving | Blade shaves easily | Perfectly honed edge |
Use these tests after each sharpening session to maintain your knives at their best!
Repeat the Process Until the Blade Feels Razor-Sharp
Keep testing your knife’s sharpness as you go so you can track your progress. Maintain a consistent angle with the rod and use light pressure for the best results. Repeat the process until the blade feels razor-sharp and ready to use.
Test Sharpness Regularly
How can you tell if your knife is sharp enough? Testing sharpness regularly during knife handling is essential to guarantee your cutting techniques are safe and effective. After each sharpening pass, perform simple checks to gauge the blade’s edge.
- Slice through a sheet of paper smoothly without tearing.
- Try gently shaving a small patch of hair on your arm.
- Cut through a ripe tomato’s skin with minimal pressure.
- Observe the blade’s reflection; a sharp edge won’t reflect light.
Maintain Consistent Angle
Although maintaining a consistent angle can be challenging at first, it’s essential for achieving a razor-sharp edge on your knife. When you sharpen, keep the rod steady and the blade at the same angle throughout each stroke.
This uniformity guarantees the edge grinds evenly, improving sharpness and reducing the risk of damaging the blade. As you repeat the process, regularly check your progress by performing a sharpness comparison with the dull edge you started with.
This way, you’ll notice the improvement and know when the blade is ready. Prioritizing kitchen safety means never rushing this step; a poorly angled edge can slip during use, causing accidents.
Stay patient and focused to maintain that perfect angle until the knife feels truly razor-sharp.
Use Light Pressure
Applying just the right amount of pressure is key when sharpening your knife with a rod. Use light pressure and gentle force to avoid damaging the blade’s edge. Pressing too hard can wear down the steel unevenly, while too little pressure won’t reshape the edge effectively.
As you repeat the process, focus on these points for the best results:
- Keep your movements smooth and controlled
- Let the rod do the work and avoid forcing the blade
- Sharpen both sides evenly to maintain balance
- Check the edge regularly to gauge sharpness
Continue this gentle, consistent technique until the blade feels razor-sharp. Using light pressure ensures a precise, clean edge that lasts longer and performs better.
Clean and Maintain Your Knife After Sharpening
Once you’ve finished sharpening your knife with the rod, clean it thoroughly to remove any metal shavings or residue. Rinse the blade under warm water, then use a gentle brush or cloth to wipe away particles. Avoid harsh scrubbing, which could dull the edge.
Dry the knife immediately with a soft towel to prevent rust or corrosion.
Maintaining your knife after sharpening is essential for kitchen safety and effective handling. A clean, well-maintained blade reduces the risk of contamination and ensures smooth, safe cutting.
Regularly inspect the handle for damage or looseness, as a secure grip helps prevent accidents. If you’re not using the knife right away, lightly oil the blade with food-safe mineral oil to protect the metal.
Store Knives and Sharpening Rod Properly
After cleaning and maintaining your knife, storing it and your sharpening rod correctly will keep them in top condition. Proper knife storage prevents dulling and damage, while rod maintenance ensures it stays effective for future sharpening.
To store your knives and sharpening rod properly, follow these tips:
- Use a knife block or magnetic strip to keep blades secure and avoid contact with other utensils.
- Store your sharpening rod in a dry place to prevent rust and corrosion.
- Regularly inspect the rod’s surface for wear and clean it with a soft cloth to remove metal particles.
- Avoid tossing knives loosely into drawers, which can chip blades and dull edges quickly.
Frequently Asked Questions
Can I Use a Sharpening Rod on Serrated Knives?
You can use a sharpening rod on serrated knives, but it has limitations. Serrated maintenance requires more precision because the saw-like edges need individual attention.
A rod works best for smoothing and realigning the serrations rather than sharpening them deeply. Focus on each serration’s edge carefully, as the rod can’t replace specialized tools designed for serrated blades.
Keep these limitations in mind for effective upkeep.
How Often Should I Sharpen My Kitchen Knives?
You should sharpen your kitchen knives every few months or whenever you notice they’re dull to guarantee proper knife maintenance. Regular sharpening keeps your blades effective and reduces the risk of slipping, which boosts cutting safety.
If you cook frequently, sharpening once a month might be necessary. Remember, keeping your knives sharp not only makes your prep easier but also helps prevent accidents in the kitchen.
Is It Safe to Sharpen Ceramic Knives With a Rod?
No, it’s not safe to sharpen a ceramic blade with a rod. Ceramic knives are much harder and more brittle than steel, so using a sharpening rod can easily chip or break the blade.
You’ll need to follow specific safety precautions and use diamond sharpening tools designed for ceramics. If you’re not careful, you risk damaging your knife and hurting yourself, so always choose the right method for your ceramic blade.
What Materials Are Sharpening Rods Typically Made From?
Sharpening rods are typically made from steel, ceramic, or diamond-coated materials. When you focus on knife maintenance, choosing the right rod affects how well your knives stay sharp.
Steel rods help realign edges, ceramic rods provide gentle honing techniques for finer blades, and diamond-coated rods offer more aggressive sharpening. You’ll want to pick a rod that matches your knife type and how often you perform honing techniques to keep your blades in top shape.
Can a Sharpening Rod Fix a Chipped or Damaged Blade?
A sharpening rod can’t perform blade repair like a skilled craftsman fixing a broken vase. While it excels at chipping correction by realigning your blade’s edge, it won’t restore deep chips or major damage.
If your knife suffers from serious blade damage, you’ll need professional sharpening or replacement. So, use the rod for regular maintenance and minor edge tweaks, but don’t expect it to fix heavy chipping or cracks.
Conclusion
Sharpening your kitchen knives with a rod is like breathing new life into a tired blade. With each smooth stroke, you’re not just honing metal—you’re sharpening your skills and confidence in the kitchen.
Keep your edge keen and your technique steady, and your knives will slice through tasks like a hot knife through butter. Remember, a well-maintained blade is the secret ingredient to effortless cooking.
So, adopt the rhythm, and let your knives sing sharp! With these steps to sharpen kitchen knives with a rod, you can keep every blade ready for effortless cooking.