How to Clean Kitchen Appliances in 10 Easy Steps
Kitchen appliances can quickly collect grease, crumbs, stains, and lingering odors, making cleaning feel like a never-ending chore. You’re not alone—many people struggle to keep every appliance fresh and hygienic. The right cleaning tools and products can make the job much easier.
To clean your kitchen appliances in 10 easy steps, start by gathering supplies like microfiber cloths, gentle cleaners, and gloves. Always unplug each appliance and check cords for safety.
Use natural solutions such as vinegar and baking soda to tackle stains and odors.
Clean each appliance according to its needs, including blender jars, microwave interiors, toaster crumb trays, and oven racks. Regularly wipe surfaces and maintain good ventilation to prevent buildup.
Follow these basics, and you’ll keep your kitchen fresh and efficient with ease.
Key Takeaways
- Unplug appliances and prepare a clean, dry workspace with all necessary cleaning supplies organized and accessible.
- Use natural cleaners like vinegar, baking soda, and lemon juice for effective, eco-friendly stain and odor removal.
- Follow appliance-specific steps: clean blender parts, microwave interiors, refrigerator shelves, toaster crumb trays, and oven racks thoroughly.
- Wipe spills immediately and establish a regular cleaning schedule to maintain appliance hygiene and performance.
- Ensure appliances are dry before reassembling and store them in well-ventilated areas to prevent odors and extend lifespan.
Gather Supplies for Cleaning Kitchen Appliances
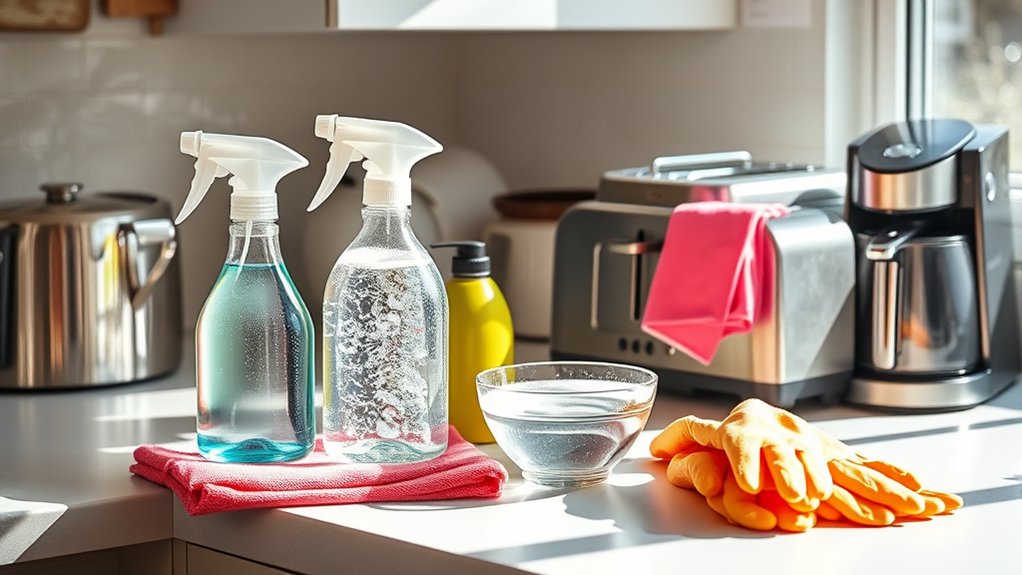
Before you begin cleaning your kitchen appliances, gather all the necessary supplies to make the process efficient. Start by collecting essential cleaning tools like microfiber cloths, sponges, a soft brush, and a spray bottle filled with a gentle cleaner. These tools help you tackle different surfaces without causing damage. Don’t forget gloves to protect your hands and a small vacuum or compressed air for tight spots.
Next, consider your storage solutions. Organize your cleaning tools in a caddy or a designated bin so you can easily carry everything from one appliance to another. Using clear containers or labeled baskets keeps your supplies visible and accessible, saving you time during future cleanings.
Unplug and Prepare Appliances Safely
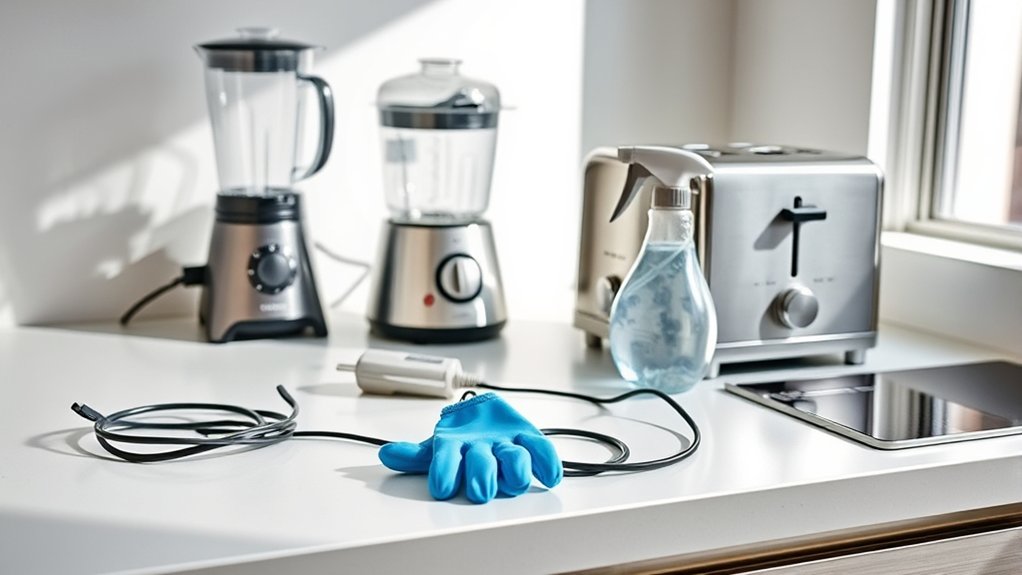
Before you start cleaning, unplug each appliance to avoid electrical hazards. Then, clear the surrounding area so you have plenty of room to work safely and efficiently. These simple steps help protect both you and your appliances during cleaning.
Ensure Appliance Is Unplugged
To keep yourself safe while cleaning, always unplug your kitchen appliances first. This simple step prevents electrical shocks and protects the appliance’s internal parts.
Before you start, check the power cord for frays or damage. Also, move appliances away from water sources to avoid hazards while unplugging.
| Step | Action | Tip |
|---|---|---|
| 1 | Locate power cord | Follow cord to plug |
| 2 | Grip plug firmly | Avoid pulling cord itself |
| 3 | Unplug appliance | Ensure hands are dry |
| 4 | Inspect cord for damage | Replace if frayed |
| 5 | Position appliance safely | Keep away from wet areas |
Unplugging correctly keeps your cleaning process safe and efficient.
Clear Surrounding Workspace
Once you’ve unplugged your appliances, clear the surrounding workspace to create a safe, clutter-free area for cleaning. Remove any items like utensils, towels, or food containers that could get in the way or cause accidents.
Keeping your workspace organized not only supports kitchen organization but also improves workspace safety by reducing the risk of spills or trips. Make sure the surface is dry and stable before you begin cleaning.
If needed, move appliances to a more spacious spot to access all sides easily. This preparation step helps prevent damage to your appliances and keeps you safe from electrical hazards or sharp edges.
A tidy, well-organized kitchen workspace sets the stage for efficient and safe appliance cleaning.
Use Natural Cleaners for Kitchen Appliances
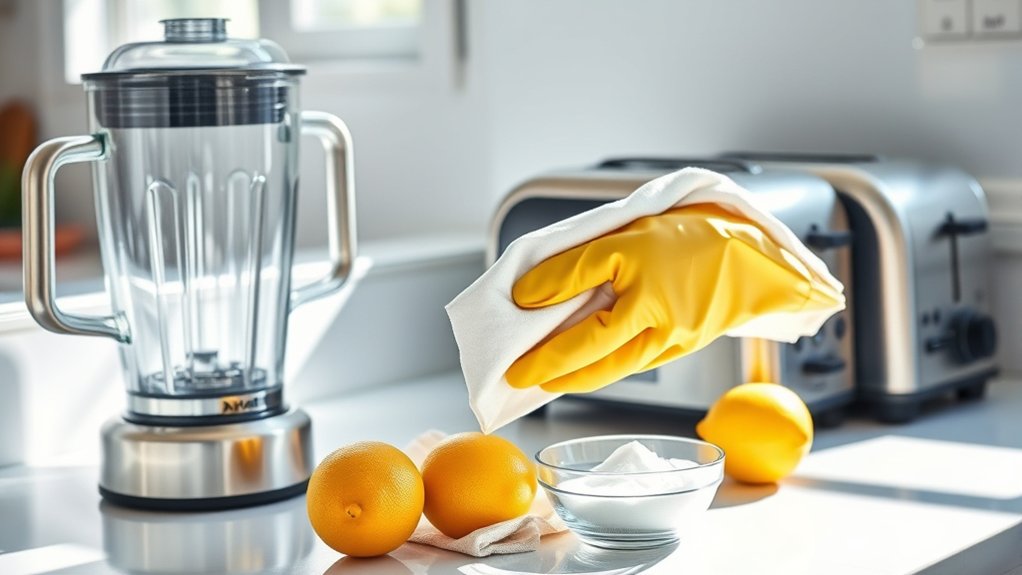
Although commercial cleaners can be effective, using natural cleaners for your kitchen appliances offers a safer and eco-friendly alternative. You’ll find that eco friendly solutions like vinegar, baking soda, and lemon juice tackle grease and grime without harsh chemicals. These chemical free alternatives not only protect your appliances but also reduce exposure to toxins in your home.
To clean, mix equal parts water and vinegar in a spray bottle for a powerful yet gentle all-purpose cleaner. Sprinkle baking soda on stubborn spots, then spray with vinegar to create a fizzing action that lifts dirt easily.
Wipe down with a damp cloth and dry thoroughly. Lemon juice works great to cut through stains and leaves a fresh scent behind.
Clean Your Blender Step-by-Step
When your blender starts to smell or shows streaks of leftover food, it’s time for a thorough cleaning. First, unplug the blender and carefully remove the jar from the base.
Detach the blender blades to avoid injury and rinse them under warm water to clear any stuck debris. For effective container cleaning, fill the blender jar halfway with warm water and add a drop of dish soap.
Secure the lid and run the blender on low for 30 seconds. This action loosens food particles stuck inside. Rinse the jar and blades thoroughly with clean water to remove soap residue.
Use a soft sponge or brush to scrub any remaining spots, especially around the blades and the container’s corners. Dry all parts completely before reassembling.
Regularly cleaning your blender blades and container keeps your appliance hygienic and extends its lifespan. Don’t forget to wipe the base with a damp cloth to remove any splatters or spills.
Remove Stains and Odors From Your Microwave
You can easily remove stains and odors from your microwave with natural cleaners like lemon or vinegar. They help freshen the interior while loosening stubborn food splatters. Here’s how to make your microwave look and smell clean again.
Natural Deodorizing Methods
How can you naturally eliminate stubborn stains and lingering odors from your microwave without harsh chemicals? Start by using herbal remedies like baking soda mixed with water to create a gentle paste. Apply it inside the microwave and let it sit for a few minutes before wiping clean.
For invigorating odors, citrus extracts are incredibly effective. Place a bowl with water and slices of lemon, lime, or orange inside, then microwave it for about five minutes. The steam infused with citrus extracts will loosen grime and neutralize bad smells.
Afterward, just wipe down the interior with a clean cloth. These natural deodorizing methods not only freshen up your microwave but also avoid any toxic residues, keeping your kitchen safe and smelling great.
Effective Stain Removal
Wondering what’s the best way to tackle tough stains and stubborn odors in your microwave? Start by steaming a bowl of water with lemon slices inside for five minutes. This loosens grime and neutralizes odors, making stain removal simpler.
Afterward, wipe the interior with a soft cloth and baking soda paste to scrub away stains without damaging surfaces. Regular stain prevention involves wiping spills immediately and polishing surfaces to keep your microwave looking fresh.
| Step | Action |
|---|---|
| 1 | Steam water with lemon |
| 2 | Let steam loosen stains |
| 3 | Wipe with baking soda paste |
| 4 | Rinse and dry thoroughly |
| 5 | Polish surface for shine |
Following these steps guarantees a spotless microwave and lasting freshness.
Deep Clean Your Refrigerator
Although it might seem like a formidable task, deep cleaning your refrigerator is essential for maintaining food safety and efficiency. Start by unplugging the appliance and removing all food items.
Deep cleaning your refrigerator is crucial for food safety and efficiency—begin by unplugging and emptying it completely.
This gives you a clear space to work on refrigerator organization and guarantees proper temperature regulation once you’re done.
Focus on these key steps:
- Take out all removable shelves and drawers for thorough washing.
- Wipe down the interior walls with a mixture of warm water and baking soda.
- Check expiration dates and toss spoiled or old items.
- Clean door seals carefully to prevent cold air leaks.
- Leave the fridge door open to air dry before restocking.
Sanitize Your Toaster and Toaster Oven
Since your toaster and toaster oven handle food directly and generate heat, it’s important to sanitize them regularly to prevent crumbs and grease buildup that can cause odors or even fires. Start by unplugging the appliances and letting them cool completely.
Remove the crumb tray from your toaster and toaster oven; wash it with warm, soapy water, rinse well, and dry thoroughly. Use a soft brush or cloth to gently sweep out any remaining crumbs inside the toaster slots or oven interior.
For toaster oven care, wipe the interior surfaces with a damp cloth dipped in a mixture of water and mild dish soap. Avoid harsh chemicals that could damage the heating elements.
Finally, wipe the exterior with a damp cloth and dry it. Regular toaster maintenance like this not only keeps your appliances hygienic but also extends their lifespan and guarantees safe, efficient operation every time you use them.
Clean and Shine Your Oven and Stove
When you clean your oven and stove regularly, you prevent tough grease buildup and keep your kitchen smelling fresh. Sticking to a consistent cleaning schedule is key to effective appliance maintenance.
Start by removing oven racks and soaking them in warm, soapy water. Next, tackle the oven interior with a baking soda paste—apply, let sit overnight, then wipe clean.
For your stove, remove burner grates and knobs to scrub away grime. Finally, polish all surfaces to restore their shine.
Here’s a quick checklist:
- Soak and scrub oven racks
- Apply baking soda paste inside oven
- Wipe oven interior thoroughly
- Clean and dry burner grates and knobs
- Polish stove surface with a gentle cleaner
Following these steps as part of your regular cleaning schedules not only extends your oven and stove’s life but also guarantees your cooking space stays hygienic and inviting.
Maintain Appliance Cleanliness Between Deep Cleans
Keeping your oven and stove spotless after each use makes deep cleaning easier and less time-consuming. You can maintain appliance cleanliness by quickly wiping spills and crumbs right away, preventing buildup.
Establish a regular cleaning schedule that fits your routine, whether daily, weekly, or biweekly, to keep your appliances in top shape. This simple appliance maintenance habit extends their lifespan and improves performance.
Use this handy cleaning schedule as a guide:
| Task | Frequency | Tools Needed |
|---|---|---|
| Wipe stovetop | After each use | Damp cloth, mild soap |
| Clean oven exterior | Weekly | Soft cloth, cleaner |
| Remove crumbs | Weekly | Vacuum or brush |
| Check seals & knobs | Monthly | Damp cloth |
Stick to these steps, and you’ll prevent grime buildup effectively without waiting for deep cleans. Consistency is key to keeping your kitchen appliances looking and working like new.
Fix Common Appliance Cleaning Problems
Sometimes, stubborn stains just won’t come off with regular cleaning. When that happens, use the right technique and cleaning product for the job. It’s also important to prevent odors from building up so your appliances stay fresh and work properly.
Stubborn Stains Removal
Why do some stains refuse to budge no matter how hard you scrub? Grease, food residue, and minerals can set deep into appliance surfaces.
For effective stain removal and odor elimination, try these simple tactics:
- Apply baking soda paste to tough spots, let it sit 15 minutes, then scrub.
- Use white vinegar spray to dissolve mineral deposits and break down grime.
- Dab hydrogen peroxide on organic stains to whiten and disinfect.
- Scrub with a soft-bristle brush to reach crevices without scratching.
- Rinse thoroughly to remove residue that causes lingering odors.
Preventing Odor Build-Up
How often do you check your appliances for hidden odor sources? To prevent odor build-up, start by improving kitchen ventilation. Proper airflow reduces moisture and lingering smells that cause unpleasant odors.
Make sure vents and exhaust fans are clean and functioning well. Next, focus on appliance storage. Avoid storing appliances in damp or enclosed spaces where odors can develop.
Instead, keep them in dry, well-ventilated areas. Regularly wipe down appliance interiors and exteriors with a mild cleaner to remove food residues that attract bacteria and mold.
Also, leave appliance doors slightly open after use when safe, allowing air to circulate and dry the interior. By combining good kitchen ventilation with smart appliance storage and routine cleaning, you’ll keep your kitchen smelling fresh and your appliances odor-free.
Frequently Asked Questions
Can I Use Vinegar to Clean Stainless Steel Appliances?
Yes, you can use vinegar to clean stainless steel appliances, but be sure to dilute it with water to avoid damage. Vinegar’s acidity helps remove grime and fingerprints effectively.
If you want vinegar alternatives, try using mild dish soap or specialized stainless steel polishing products for a streak-free shine. Remember to always wipe with a soft cloth following the grain of the steel to keep your appliances looking polished and spotless.
How Often Should Kitchen Appliances Be Deep Cleaned?
You should deep clean your kitchen appliances every 3 to 6 months to keep them in top shape. Sticking to regular cleaning schedules helps with appliance maintenance and extends their lifespan.
If you use appliances heavily, consider deep cleaning more often. Regular upkeep prevents buildup and keeps everything running smoothly, so set reminders to stay consistent.
This way, you avoid costly repairs and enjoy a cleaner, safer kitchen environment.
Are There Specific Cleaners to Avoid on Certain Appliances?
You shouldn’t use abrasive cleaners on delicate surfaces, like scrubbing a soft peach. Avoid bleach and ammonia-based products on stainless steel or glass, as chemical residues can cause damage or discoloration.
Also, steer clear of harsh chemicals if you have allergen concerns, since they might trigger reactions. Instead, opt for gentle, appliance-specific cleaners or natural solutions like vinegar and baking soda to keep things safe and spotless without risk.
Can Dishwasher Detergent Be Used for Appliance Cleaning?
You shouldn’t use dishwasher tablets for cleaning most kitchen appliances because they’re designed for dishes, not surfaces. Instead, try baking soda—it’s gentle and effective for scrubbing grime without damaging finishes.
Dishwasher detergent can be too harsh or leave residues on appliances like microwaves or refrigerators. So, stick with mild cleaners like baking soda mixed with water to keep your appliances clean and safe without risking damage.
What Are Safe Drying Methods After Cleaning Appliances?
Did you know improper drying can increase bacterial growth by up to 50%? For safe drying methods after cleaning appliances, always use drying techniques like wiping with a clean microfiber cloth to prevent streaks and moisture buildup.
Safe air drying works well too. Leave doors or lids open to promote airflow and speed evaporation. Avoid using abrasive materials that can damage surfaces, ensuring your appliances stay hygienic and in great condition.
Conclusion
Cleaning your kitchen appliances doesn’t have to be overwhelming or time-consuming. Even if you think it’s too much work, breaking it down into simple steps makes it manageable and quick.
Plus, regular cleaning keeps your appliances running efficiently and extends their lifespan, saving you money in the long run. So, grab your supplies and start today. You’ll enjoy a cleaner kitchen and peace of mind with every use of these kitchen appliance cleaning tips.