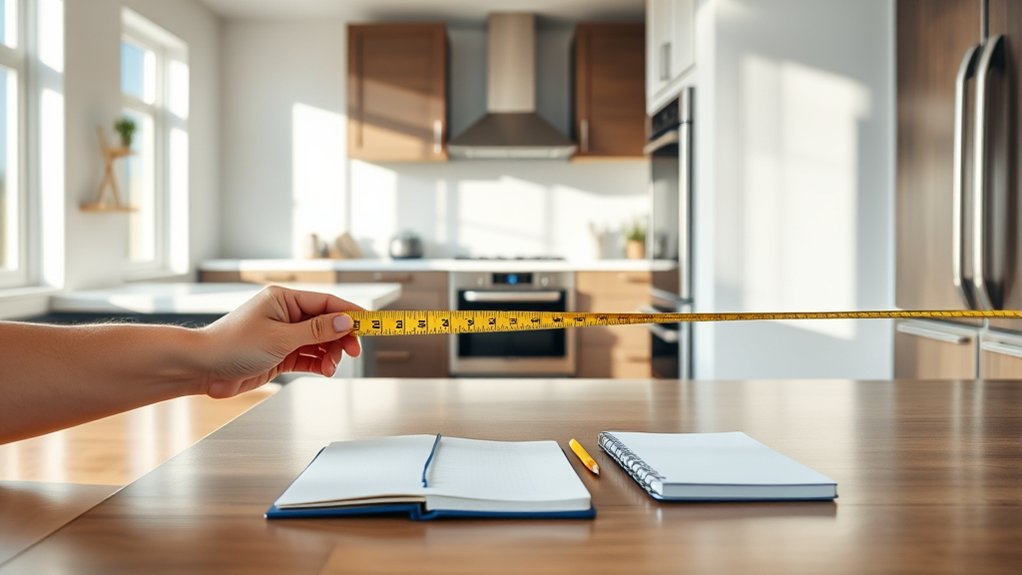
How to Measure a Kitchen in 7 Simple Steps
Measuring your kitchen accurately can feel overwhelming, especially when one missed detail throws off your entire layout. You’re not alone—many people struggle to know where to start.
This guide to how to measure a kitchen in 7 simple steps makes the process easier, so you can plan confidently and choose the right products for your space.
To measure your kitchen in seven simple steps, start by gathering essential tools like a tape measure, laser measure, and a notebook.
Measure the length and width of each wall, then take doorway and window dimensions.
Don’t forget to note floor-to-ceiling height and fixed cabinets, appliances, and fixtures.
Sketch a basic floor plan including all details, and double-check your measurements for accuracy.
Following these steps guarantees a perfect layout, with more tips to help you get it just right ahead.
Key Takeaways
- Gather essential tools like a tape measure, laser measure, notebook, pencil, level, and stud finder before starting measurements.
- Measure all walls’ length and width, and record ceiling height to understand space dimensions accurately.
- Measure doorways and windows, including width, height, depth, and trim, to plan the layout and lighting.
- Measure floor-to-ceiling height and fixed elements such as cabinets, appliances, sinks, and lighting fixtures.
- Sketch a detailed floor plan with all measurements, then verify accuracy by re-measuring critical areas.
Gather Tools to Measure Your Kitchen
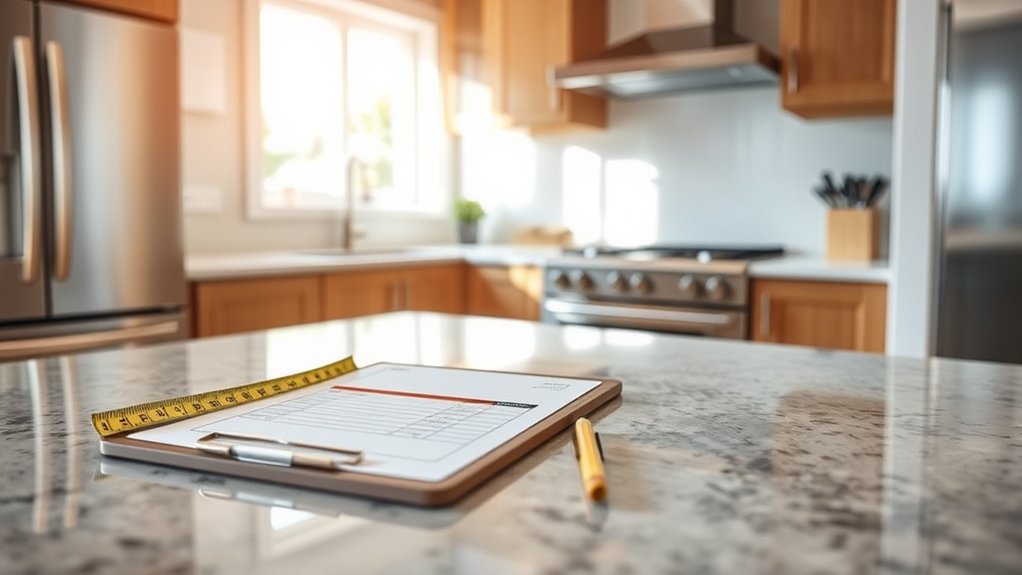
Before you start measuring, make sure you have the right tools on hand. Having accurate tools simplifies your task and guarantees your measurements support your decorating ideas and renovation tips.
Grab a reliable tape measure, preferably one that extends up to 25 feet, for precise wall and floor measurements. A laser measure can also speed up the process while boosting accuracy.
Don’t forget a notebook or digital device to jot down your numbers immediately. A pencil and eraser come in handy for quick adjustments.
If you’re planning to remodel or redecorate, consider a level to check wall straightness. This helps ensure your renovation tips lead to a flawless finish.
Finally, a stud finder might be useful if you plan to hang cabinets or heavy decorations. With these tools ready, you’ll confidently gather the measurements you need, paving the way for successful decorating ideas and smooth renovations.
Measure the Length and Width of Kitchen Walls
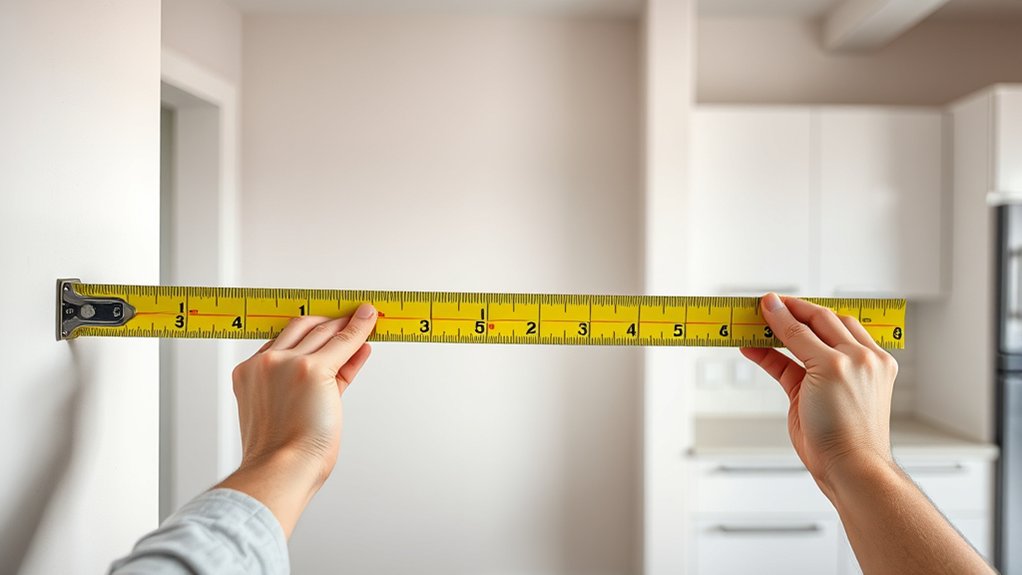
Once you have your tools ready, focus on measuring each wall’s length and width with care to guarantee accuracy. Start by placing your tape measure at one corner and extend it to the opposite end of the wall.
Note these measurements carefully, as they’re vital for planning your kitchen flooring and understanding the ceiling height in relation to wall length. Measuring both length and width accurately ensures your kitchen layout will fit perfectly.
Remember, precise wall measurements help you visualize space and avoid costly mistakes. Here’s a quick guide to keep you motivated:
| Feeling | Action | Result |
|---|---|---|
| Confident | Measure each wall | Accurate layout |
| Empowered | Note ceiling height | Better design |
| Prepared | Check kitchen flooring | Perfect fit |
Measure Doorways, Windows, and Other Openings
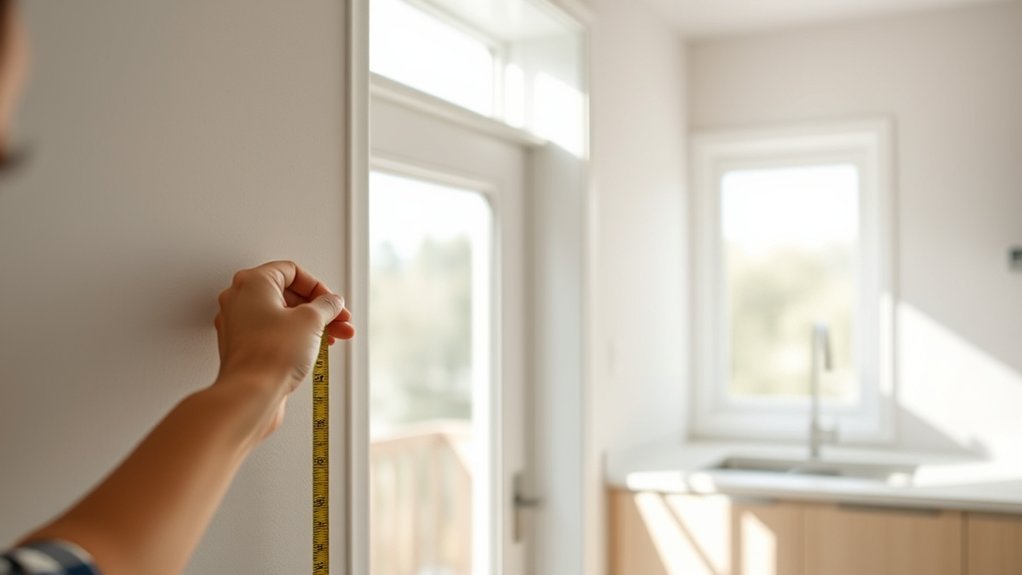
Now, measure the height and width of each doorway to make sure your kitchen layout will fit perfectly. Be sure to measure your window openings, too, since they affect natural light and cabinet placement. Taking accurate measurements now can help you avoid surprises during installation.
Measure Doorway Dimensions
When measuring doorways, windows, and other openings, you’ll want to capture their exact width, height, and depth to guarantee your kitchen components fit perfectly.
For doorways, pay close attention to the doorway materials, as wood, metal, or fiberglass frames can affect measurements. Also, note the door hinge types, whether they’re standard, concealed, or pivot hinges, as these impact door swing and clearance.
Use a tape measure to record:
- Width between door jambs at top, middle, and bottom
- Height from floor to the top of the frame
- Depth of the doorway frame for trim and molding fit
- Clearance space needed for door swing based on hinge type
Accurate doorway dimensions ensure smooth installation and avoid costly adjustments later.
Assess Window Openings
After measuring doorways, turn your attention to window openings, as they also require precise dimensions to guarantee your kitchen design fits seamlessly. Start by measuring the width and height of each window, noting any trims or molding that might affect your window treatment choice.
If you plan to install curtains, take accurate curtain measurements to ensure proper coverage and aesthetic balance. Measure from the top of the window frame to the sill and across the widest part of the frame.
Don’t forget to account for space above the window if you’re mounting a curtain rod. This step helps avoid costly mistakes and ensures your kitchen looks polished and functional, with all openings properly accommodated.
Keep your notes organized for easy reference when planning your design.
Measure the Height From Floor to Ceiling
How tall is your kitchen from floor to ceiling? Measuring this height is crucial for planning your kitchen space effectively. It helps you visualize where to place items, consider decorating tips, and address essential safety considerations like proper ventilation and lighting.
To measure accurately, follow these steps:
- Use a tape measure or laser measure from the floor directly up to the ceiling.
- Take measurements at multiple points, such as the corners and center, to account for any ceiling unevenness.
- Note the height to guide decisions on cabinet installation and wall decor placement.
- Keep safety in mind. Knowing the height helps avoid hazards related to fixtures and electrical outlets.
Measure Fixed Cabinets, Appliances, and Fixtures
Knowing your kitchen’s height helps you understand the overall space, but to plan effectively, you’ll also need to measure fixed cabinets, appliances, and fixtures. Start by measuring the width, height, and depth of each cabinet.
Note the cabinet styles, as different styles may affect how you use the space or add storage. For instance, shaker cabinets have a different profile than flat-panel ones, which might influence your design choices.
Next, measure your appliances carefully. Record their width, height, and depth, including items like the refrigerator, stove, dishwasher, and microwave.
Keep in mind any handles or vents that add to the overall dimensions. Finally, don’t forget to measure fixtures such as sinks, faucets, and built-in lighting.
Precise measurements ensure your layout accommodates all elements seamlessly, preventing issues during installation or renovation. Taking detailed notes now will save you time and hassle later.
Sketch a Simple Floor Plan With Your Measurements
Once you have all your measurements, start sketching a simple floor plan to visualize your kitchen layout. This step helps you see how everything fits and guides decisions like designing color schemes and selecting flooring options. Use graph paper or a digital tool to keep proportions accurate.
Begin by drawing walls, then add fixed cabinets, appliances, and fixtures in their measured locations.
To create an effective floor plan, consider:
- Marking doorways and windows to understand natural light and traffic flow
- Outlining countertop spaces and storage areas for functionality
- Highlighting zones for cooking, prepping, and cleaning
- Adding notes on preferred color schemes and flooring types for style consistency
Double-Check Your Measurements for Accuracy
After sketching your floor plan, take time to double-check every measurement. Ensuring measurement accuracy is vital to avoid costly mistakes when planning your kitchen.
Start by re-measuring all walls, windows, doors, and appliance spaces. Use verification techniques like measuring twice or even thrice to confirm your numbers. Compare these new readings against your initial sketch to spot any discrepancies.
You can also use a laser measure for added precision, especially in hard-to-reach areas. Don’t forget to check diagonal measurements to verify that corners are square.
Keeping a consistent method, such as always measuring from the same starting point, helps maintain accuracy. If possible, have someone else review your measurements to catch errors you might have missed.
Taking these steps ensures your floor plan reflects the true dimensions, making your kitchen project run smoothly and fit perfectly.
Frequently Asked Questions
What Is the Best Time of Day to Measure a Kitchen?
The best time to measure a kitchen is during daylight hours when natural light helps you see true color coordination and appliance placement clearly.
Measuring in the morning or early afternoon lets you spot any shadows or lighting issues that affect your design choices.
This way, you’ll get accurate dimensions and guarantee your appliances fit perfectly, while also making smart decisions about colors and layout that brighten your kitchen’s overall look.
How Do I Measure a Kitchen With an Irregular Shape?
Measuring a kitchen with irregular shapes is like steering through a maze. Use accurate measurement tools, such as a tape measure and laser distance meter.
Break the space into smaller, manageable sections, measuring each part individually. Sketch the layout as you go, noting all dimensions.
Then, add the sections together to get your total area. This approach helps you handle odd angles or curves with confidence.
Can I Use a Smartphone App Instead of a Tape Measure?
Yes, you can use a smartphone app instead of a tape measure, but keep in mind smartphone accuracy varies. Some apps rely on your phone’s camera and sensors, giving you quick measurements, but they might not be as precise as a physical tape.
Make sure to check app compatibility with your device and read reviews to find one that suits your needs. For best results, double-check critical measurements with a tape measure.
How Often Should I Re-Measure My Kitchen?
You should re-measure your kitchen anytime you plan new decorating ideas or change appliance placement. Think of it like updating a map before a road trip—if you don’t, you might miss essential turns.
For example, one homeowner skipped re-measuring before buying a fridge and ended up with it stuck in the doorway! To avoid costly mistakes, measure whenever you rearrange or add appliances, ensuring everything fits perfectly and your design flows smoothly.
What Should I Do if I Find Measurement Discrepancies?
If you find measurement discrepancies, first double-check your measurements using reliable measurement tools to guarantee material accuracy. Re-measure the areas with the biggest differences, and compare your results.
If discrepancies persist, consider using alternative tools like laser measures for better precision. Document all measurements carefully, and communicate any inconsistencies with contractors or designers to avoid costly mistakes during installation or material ordering.
Staying thorough helps you maintain accuracy throughout your project.
Conclusion
Now that you’ve gathered your tools, measured every wall and opening, noted the height from floor to ceiling, and tracked down each cabinet and appliance, you’re ready to sketch your floor plan.
You’ve checked and double-checked every number, ensuring accuracy and confidence. With these steps, you’ll transform your kitchen measurements into a clear, reliable blueprint, making your next renovation or design project smoother, smarter, and perfectly tailored to your space.