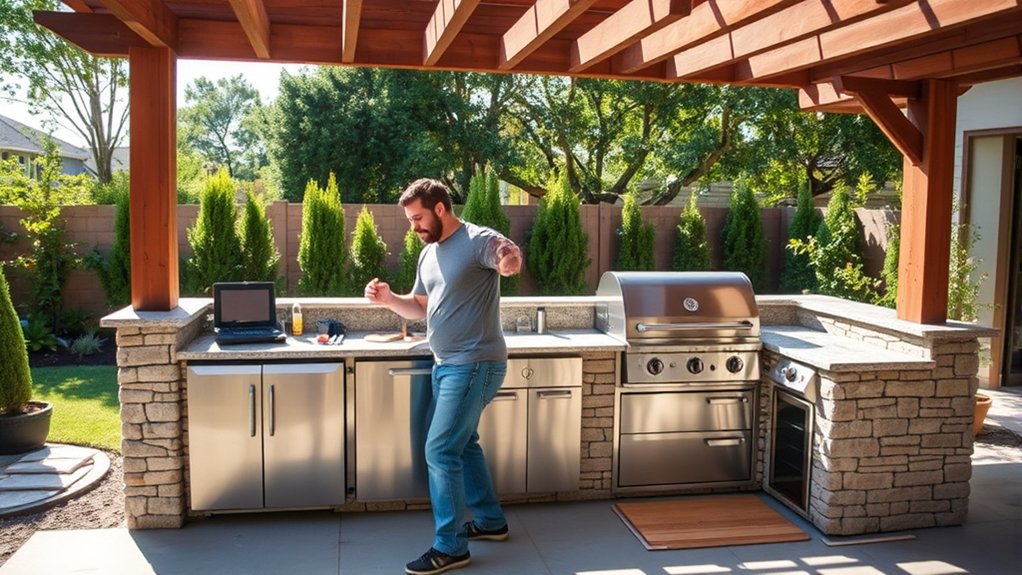
How to Build an Outdoor Kitchen in 3 Simple Steps
Creating the perfect outdoor kitchen can feel overwhelming, especially when you’re comparing layouts, materials, appliances, and installation details. You’re not alone—many homeowners struggle to know where to start.
This guide will walk you through the process and help you choose the best options for your space, budget, and entertaining style.
Start by planning your layout, mapping out cooking, prep, and seating zones for smooth movement and socializing.
Next, pick durable, weather-resistant materials like stainless steel appliances and granite countertops to guarantee longevity.
Finally, prepare your site with utilities and a stable foundation, then build the structure focusing on secure installation and weatherproofing.
Add lighting and decor to finish.
Keep going to uncover detailed tips for each step and create the perfect outdoor kitchen.
Key Takeaways
- Plan the layout by zoning cooking, prep, storage, and seating areas for efficient workflow and socializing.
- Choose durable, weatherproof materials like stainless steel appliances and granite countertops for longevity.
- Prepare the site by leveling ground, installing utilities, and ensuring proper drainage and foundation stability.
- Construct the kitchen framework, install weather-resistant countertops, and securely fit appliances and fixtures.
- Finish with weatherproof lighting, entertainment options, and decor to enhance ambiance and safety.
Plan Your Outdoor Kitchen Layout and Must-Have Features
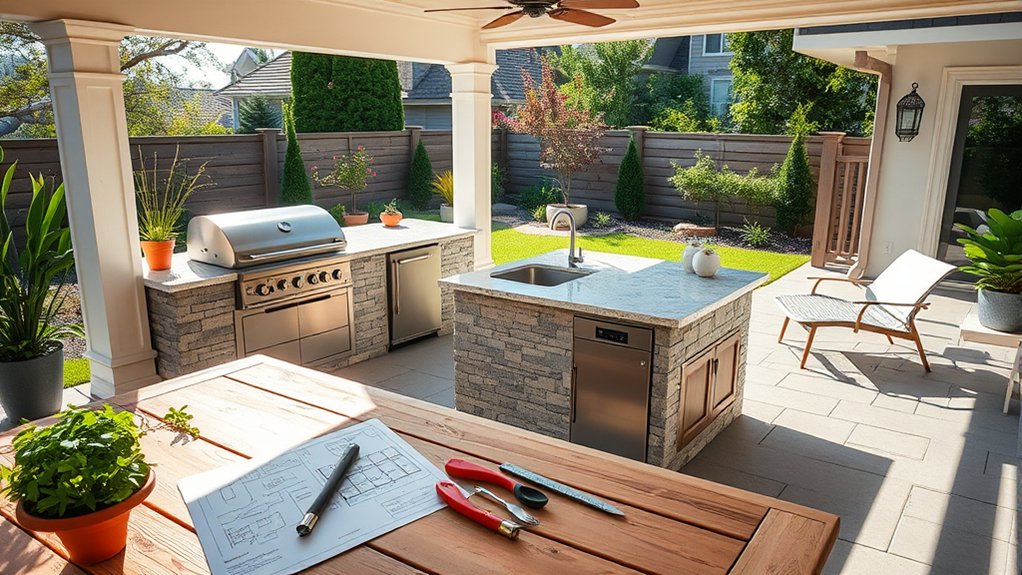
Before you begin building, plan your outdoor kitchen layout carefully to ensure it fits your space and lifestyle. Start by mapping out the main cooking area, prep space, and storage.
Think about how you’ll move between these zones to keep things efficient. Don’t forget to include seating that encourages socializing, whether you prefer bar stools around a counter or a cozy dining table nearby.
Consider how many guests you usually host so you can size your seating appropriately.
Lighting is vital for both functionality and ambiance. Plan for task lighting over cooking and prep areas so you can work safely after dark.
Add softer, ambient lighting around seating to create a welcoming atmosphere. Combining different light sources, such as overhead fixtures and string lights, ensures your outdoor kitchen is practical and inviting.
Taking the time to plan these layout details now will make the entire building process smoother and the final space more enjoyable.
Choose Durable Materials and Outdoor Kitchen Appliances
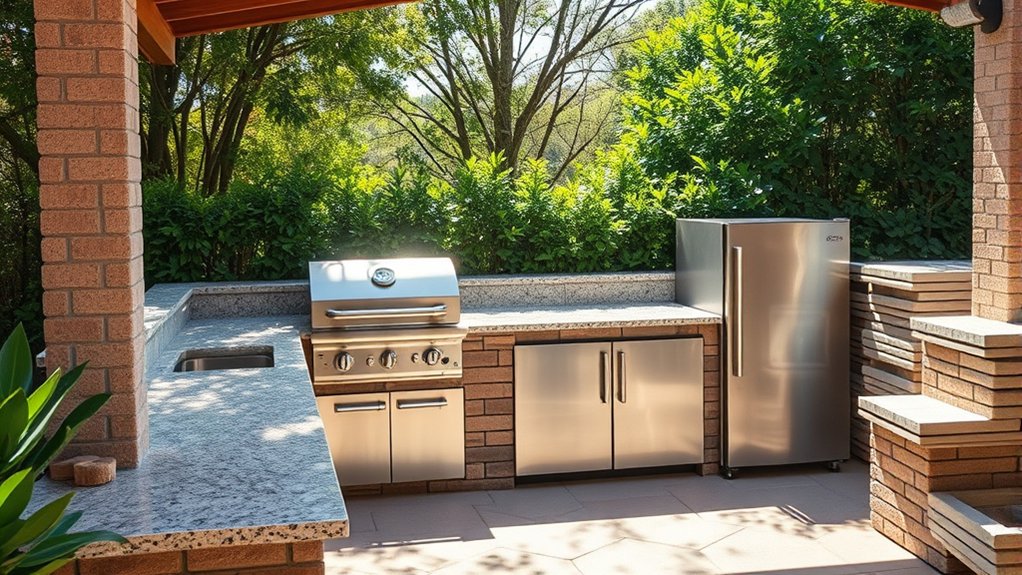
Once you’ve mapped out your outdoor kitchen layout and lighting, it’s time to select materials and appliances that can withstand the elements and long-term use. Choosing durable materials guarantees your outdoor kitchen stays functional and stylish, complementing your outdoor decor. Focus on weatherproof finishes that resist rust, fading, and moisture damage.
Choosing durable, weather-resistant materials ensures your outdoor kitchen remains stylish and functional over time.
Here are four key tips to guide your choices:
- Opt for stainless steel appliances. They’re corrosion-resistant and easy to clean.
- Select countertops made from granite or concrete. Both handle weather changes well.
- Use weatherproof finishes on cabinets and furniture to maintain their look despite exposure.
- Incorporate outdoor-rated lighting and accessories that complement your decor while resisting harsh conditions.
Build Your Outdoor Kitchen Step-by-Step
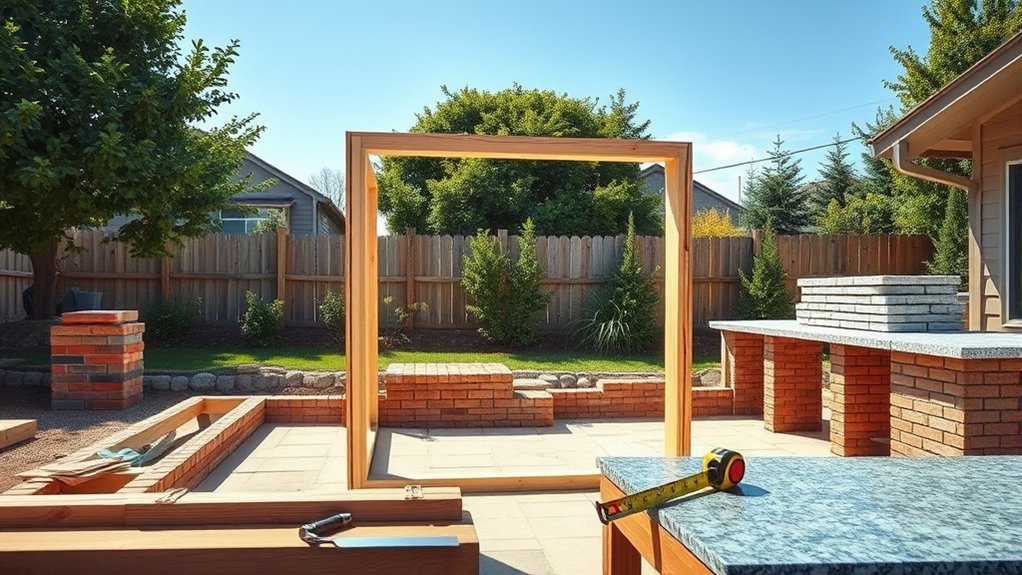
Although building an outdoor kitchen can seem intimidating, breaking the process into clear, manageable steps makes it easier to tackle. Start by designing your layout, considering appliances and entertainment options.
Next, prepare the site by leveling the ground and installing necessary utilities. Then, build the framework and install durable countertops.
Finally, add finishing touches like lighting ideas to improve ambiance and safety.
Here’s a simple step-by-step overview:
| Step | Key Actions | Tips |
|---|---|---|
| Design | Plan layout & select appliances | Include seating & lighting |
| Site Prep | Level ground, set utilities | Check local codes |
| Construction | Build base, install countertops | Use weather-resistant materials |
| Finishing Touches | Add lighting, entertainment options | Use LED lights & speakers |
Frequently Asked Questions
How Do I Maintain My Outdoor Kitchen Year-Round?
You’ll want to schedule regular outdoor maintenance to keep your kitchen in top shape year-round. Clean surfaces and appliances after every use to prevent buildup.
Seal countertops annually to protect against weather damage. For pest prevention, store food properly and clear crumbs or spills promptly.
Check for gaps or cracks where insects might enter and seal them. Cover your kitchen when not in use to shield it from the elements and unwanted guests.
What Are the Best Lighting Options for Outdoor Kitchens?
The best outdoor lighting for your kitchen combines style and function. You’ll want to choose energy-efficient fixtures like LED string lights or solar-powered spotlights to brighten your space without hiking up your electric bill.
Consider installing task lighting over prep areas and ambient lighting to create a cozy vibe. Motion sensor lights add security and convenience.
With the right outdoor lighting, you’ll enjoy cooking and entertaining well into the night.
Can I Install an Outdoor Kitchen on a Budget?
Yes, you can definitely install an outdoor kitchen on a budget. Focus on cost-effective materials like concrete blocks, plywood, or reclaimed wood instead of expensive stone or stainless steel.
Prioritize essential appliances and add features over time to spread out costs. DIY installation can save money too.
How Do I Protect My Outdoor Kitchen From Pests?
“A stitch in time saves nine.” To protect your outdoor kitchen from pests, use pest-resistant materials like stainless steel and sealed concrete, which deter insects and rodents. Install insect barriers around openings and under countertops to block entry points.
Regularly clean surfaces and avoid standing water to reduce attraction. These steps help you maintain a pest-free kitchen, ensuring your outdoor space stays functional and enjoyable without unwanted visitors.
What Permits Are Needed for Building an Outdoor Kitchen?
You’ll likely need a building permit and possibly electrical or plumbing permits, depending on your outdoor kitchen’s features. Check with your local building department before starting.
While planning, think about landscaping ideas and seating arrangements to create a cohesive space. Getting permits guarantees your setup is safe and up to code, letting you enjoy your outdoor kitchen without legal hassles. Don’t skip this vital step!
Conclusion
Building your outdoor kitchen might seem overwhelming, but it’s easier than you think when you break it down into simple steps. You might worry about the cost or time, but starting with a clear plan and choosing durable materials saves both in the long run.
Plus, investing in quality appliances means less maintenance and more enjoyment. With a little patience and these tips, you’ll have a beautiful, functional outdoor kitchen ready for gatherings in no time.